Through this blog post, I will share my learnings from the flipped lecture and my experimentation with working on image editing using GIMP and Photoshop.
To start with I downloaded GIMP on my laptop. GIMP is available for use free. I used Photoshop software available on the RMIT system.
To do the image editing I needed to have an image to work on. As part of the Digital story work, we wanted to create an icon for thematic representation of our story.
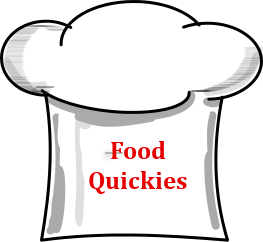
We wanted to create a neat icon for our theme of foodQuickies. For this, I downloaded a free clip art form a site openclipart.org.

I chose the clip art and then decided to edit this with help of GIMP. Since we wanted to have a very clean and clutter-free icon, I was clear from the beginning on what I wanted to experiment with. I had to add a clean text description to state it’s name and add an effect to make the chef hat look more natural. What better than a paintbrush to show the wrinkles of the hat!
So I opened and exported the clip art file in GIMP.
I had to work with layers. I first saved the original image on one layer. Then I created another layer on which I would add the text.
Then I used the “A” tool in the toolbox. Chose red colour since Red goes well with Black.
I wanted to further give a Block paint brush effect on the chef hat so I created another layer for this and applied the paint brush from the tool box.I then added paintbrush strokes to the top of the chef’s hat. So now we had three layers.
![]()
I took this icon then, as a reference for our discussion on next steps on the digital story project.
Infact,I took two options with different text font styles for the Group to choose from.These are as below:

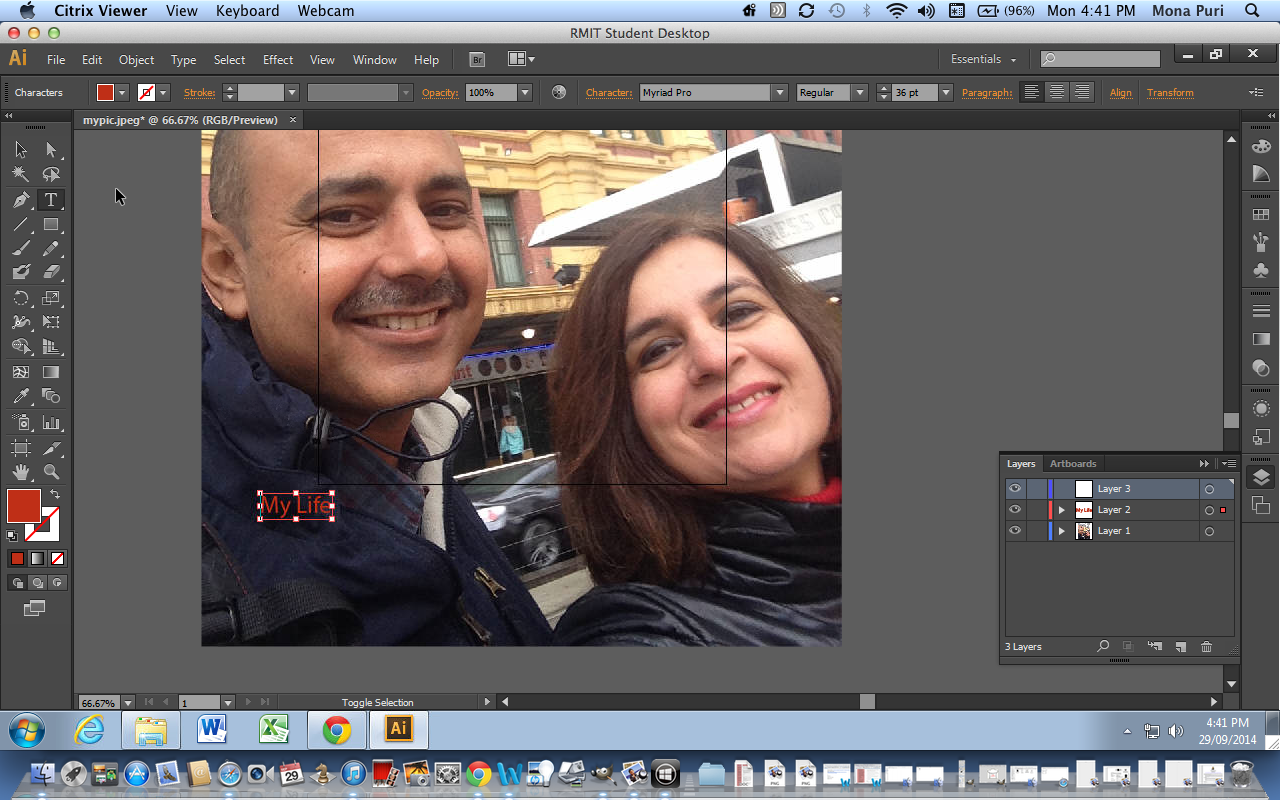
My wedding anniversary was round the corner. I wanted to personalise a picture of me and my husband and gift the same to us! So I decided to try my hand on Photoshop.
I took a picture of ours at Flinders Street. I transferred that image from my phone to my laptop. I then opened the image in Photoshop.

Having learnt now that one always works with layers, I created a layer to add text on it. I then chose the option of “ T ” tool from the Toolbox. I chose Red colour for the chosen font style.
Now I wanted to make this picture in Gray scale which is personally my favourite look! So I created another layer as a copy. Then adjusted the R/G/B to 71/72/74 in Colour adjustments to make the visual in Gray scale.
I really enjoyed using the paint brush option. So I created another layer to give a paintbrush effect to the background buildings in the picture.Went to Filter Gallery,chose Brush Strokes.

I also experimented with opacity adjustment to see how the visual gets impacted.Along with this,I also chose the sketch option in filter gallery,adjusted charcoal area to 9,Chalk Area to 11 and Stroke Pressure to 1. With both , I got the following result:

Finally,for printing, I settled for the colour option with our life written on it.

I saved the image in jpeg and PNG formats. I have realised that a Jpeg is very useful as it compresses the image while maintaining the image quality very well.
While working on both softwares, as you can see I chose to do almost similar effects, maybe more in Photoshop owing to it’s limited access for me since it’s not free, I realised how important it is to keep the actual image in a different layer. Each time you want to work on an aspect of the image, you need to create a layer to work on!
I think the opportunities, which both these softwares ;GIMP and Photoshop give us are unlimited! I can keep experimenting everyday to spruce up one’s skills of image editing since it’s immensely valuable to know how to edit images while evolving your digital stories.
